Easter Weekend is, statistically speaking, the busiest gardening weekend of the year. It’s a lovely thing yes, but there is always a sense of rising panic...especially for people who are new to gardening…
Help! my garden is a mess! How on earth am I going to tackle this enormous task?…I don’t have time to make it look nice! Perhaps the only way is to call someone in and spend loads of money I don’t have! I don’t even know what any of these plants are!
It’s a feeling I know all too well and I’m going to send out a gentle plea for calm right now, because your outside space, however ‘messy’ or ‘unkempt’ or ‘neglected’ is still YOUR SPACE and you deserve to enjoy it, whatever state it’s in. Indeed, if you ARE facing a jungle outside, you can take comfort in the knowledge that SO many beneficial insects, birds, reptiles and other wildlife are enjoying your garden BECAUSE it’s untidy!
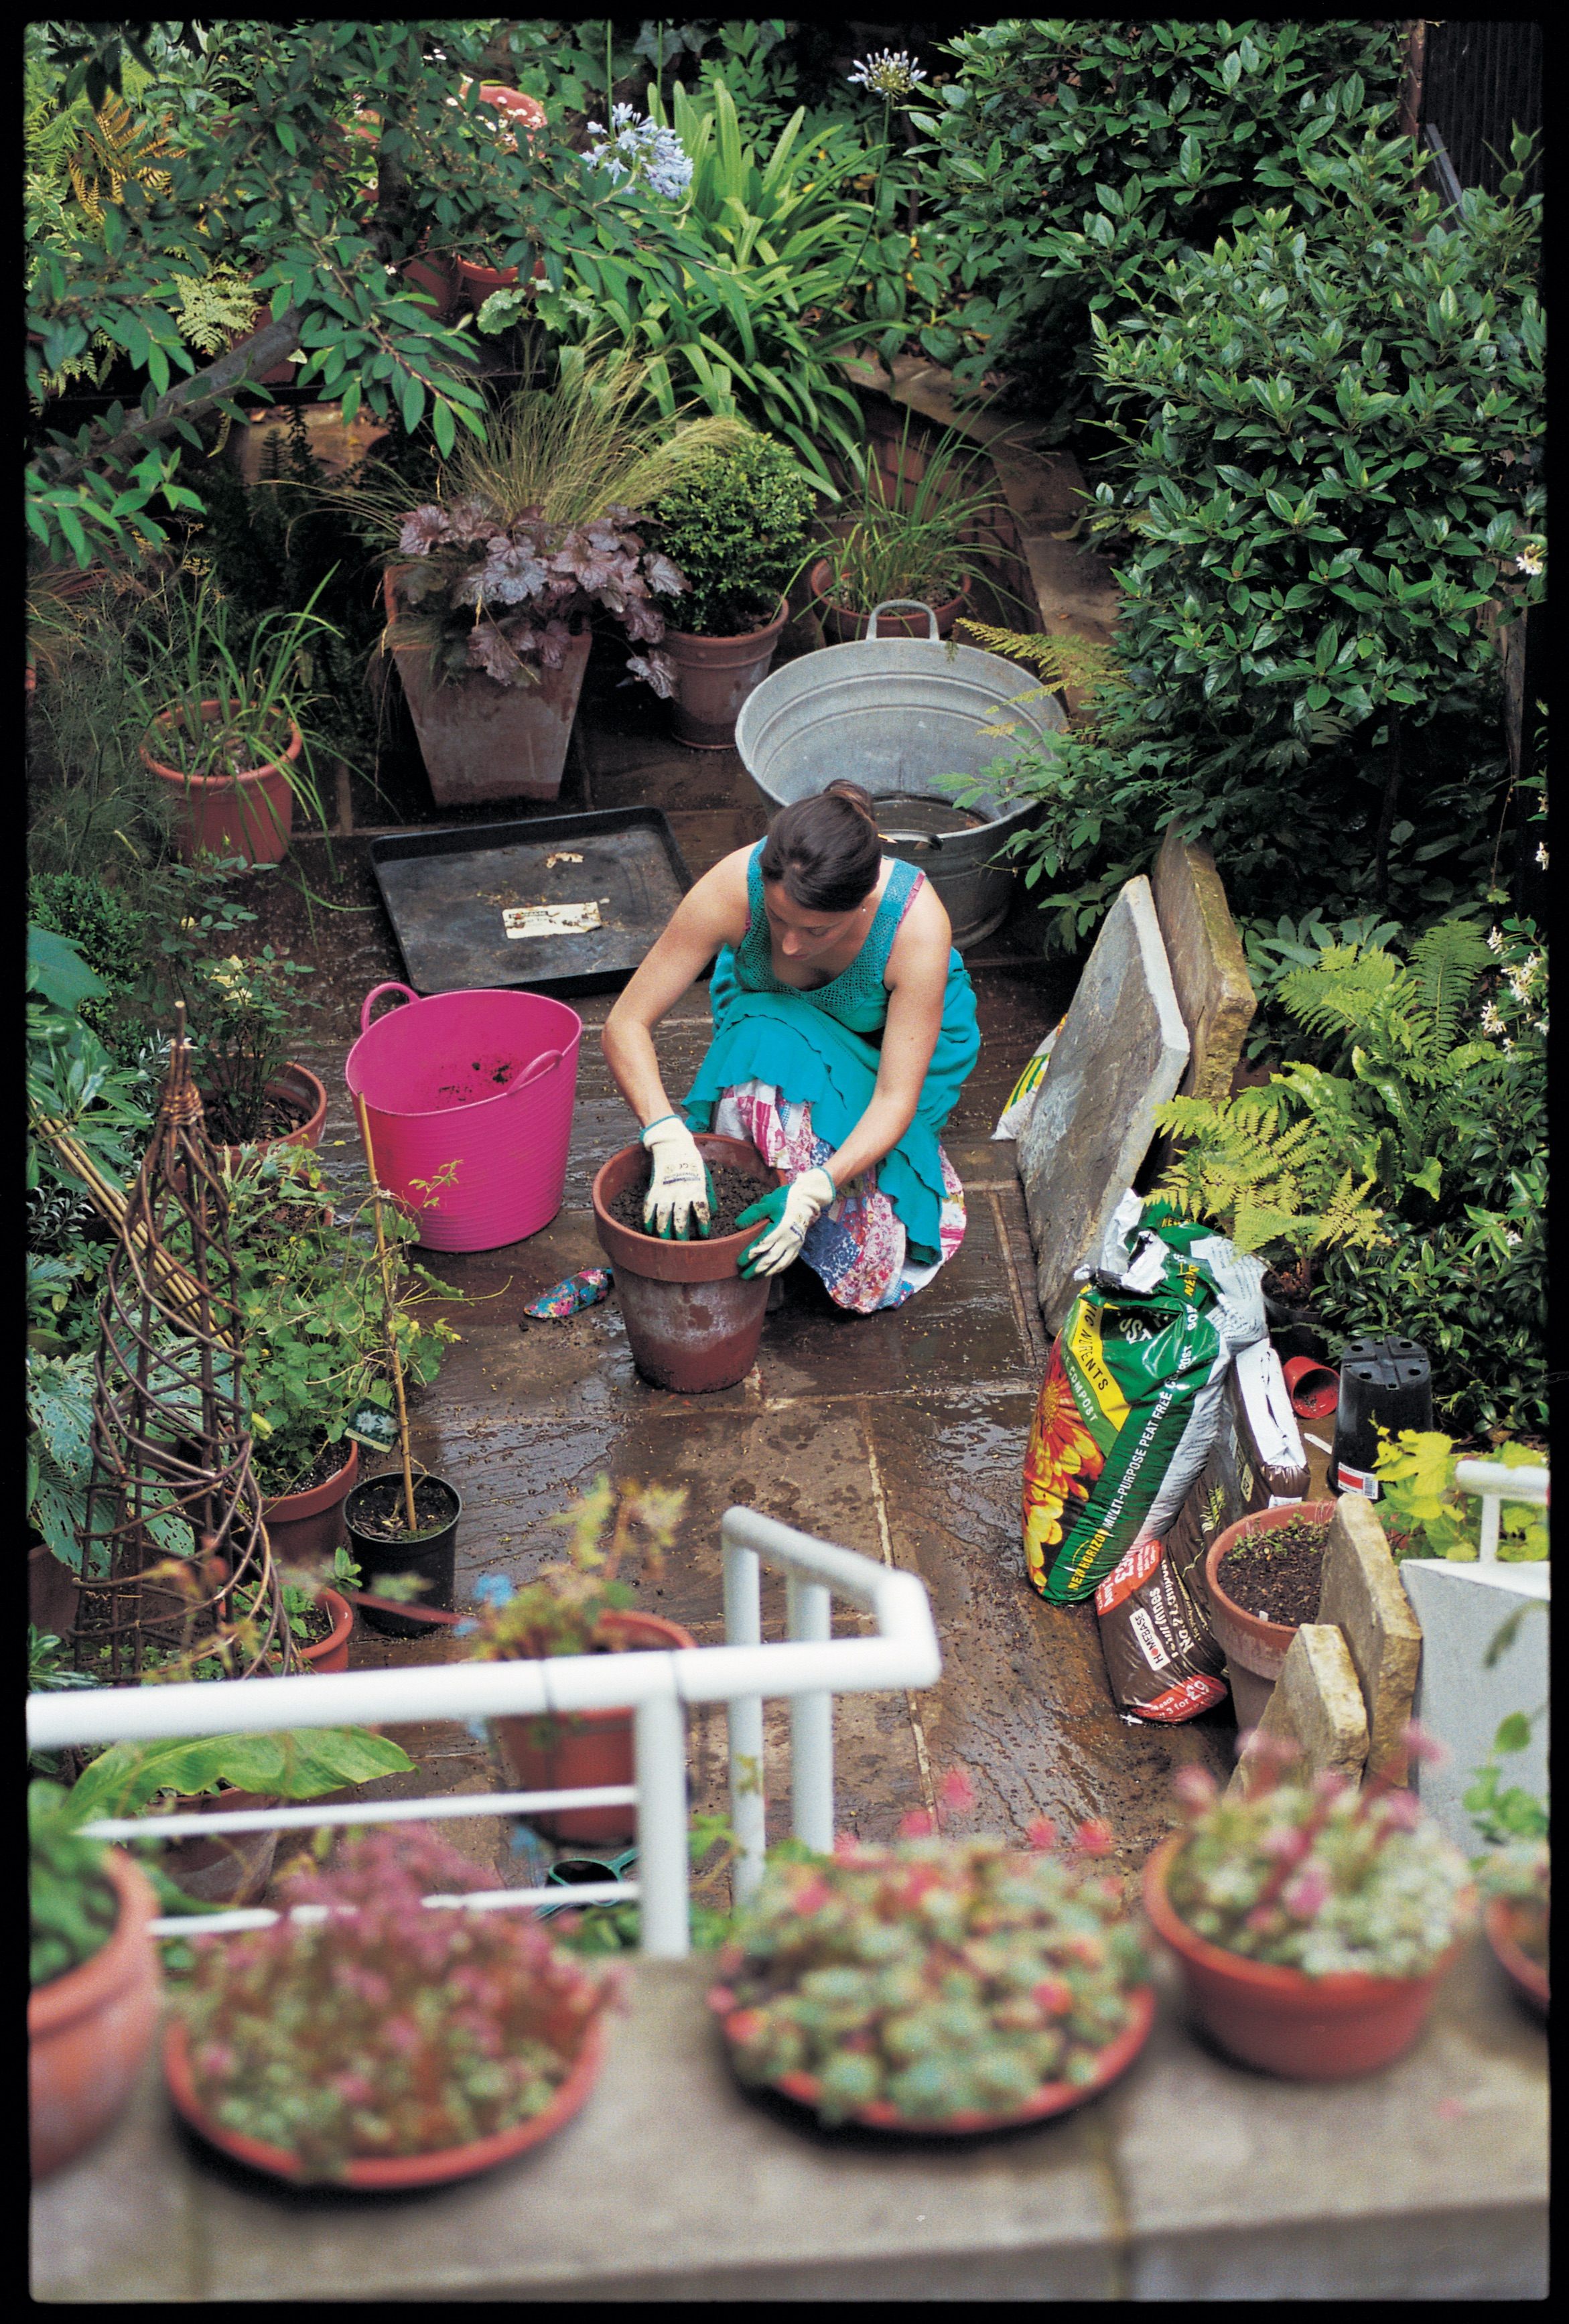
Okay so let’s get practical. I thought I’d set out a small list of things you can do to improve YOUR EXPERIENCE of your garden. This is not about doing a massive makeover…no grand gestures here…it’s about carrying out some very simple tasks that will connect you with your garden on a deeper level, and pave the way for a more sustained (dare I say it, ‘FIVE MINUTE APPROACH’) going forward.
Sow some seeds.
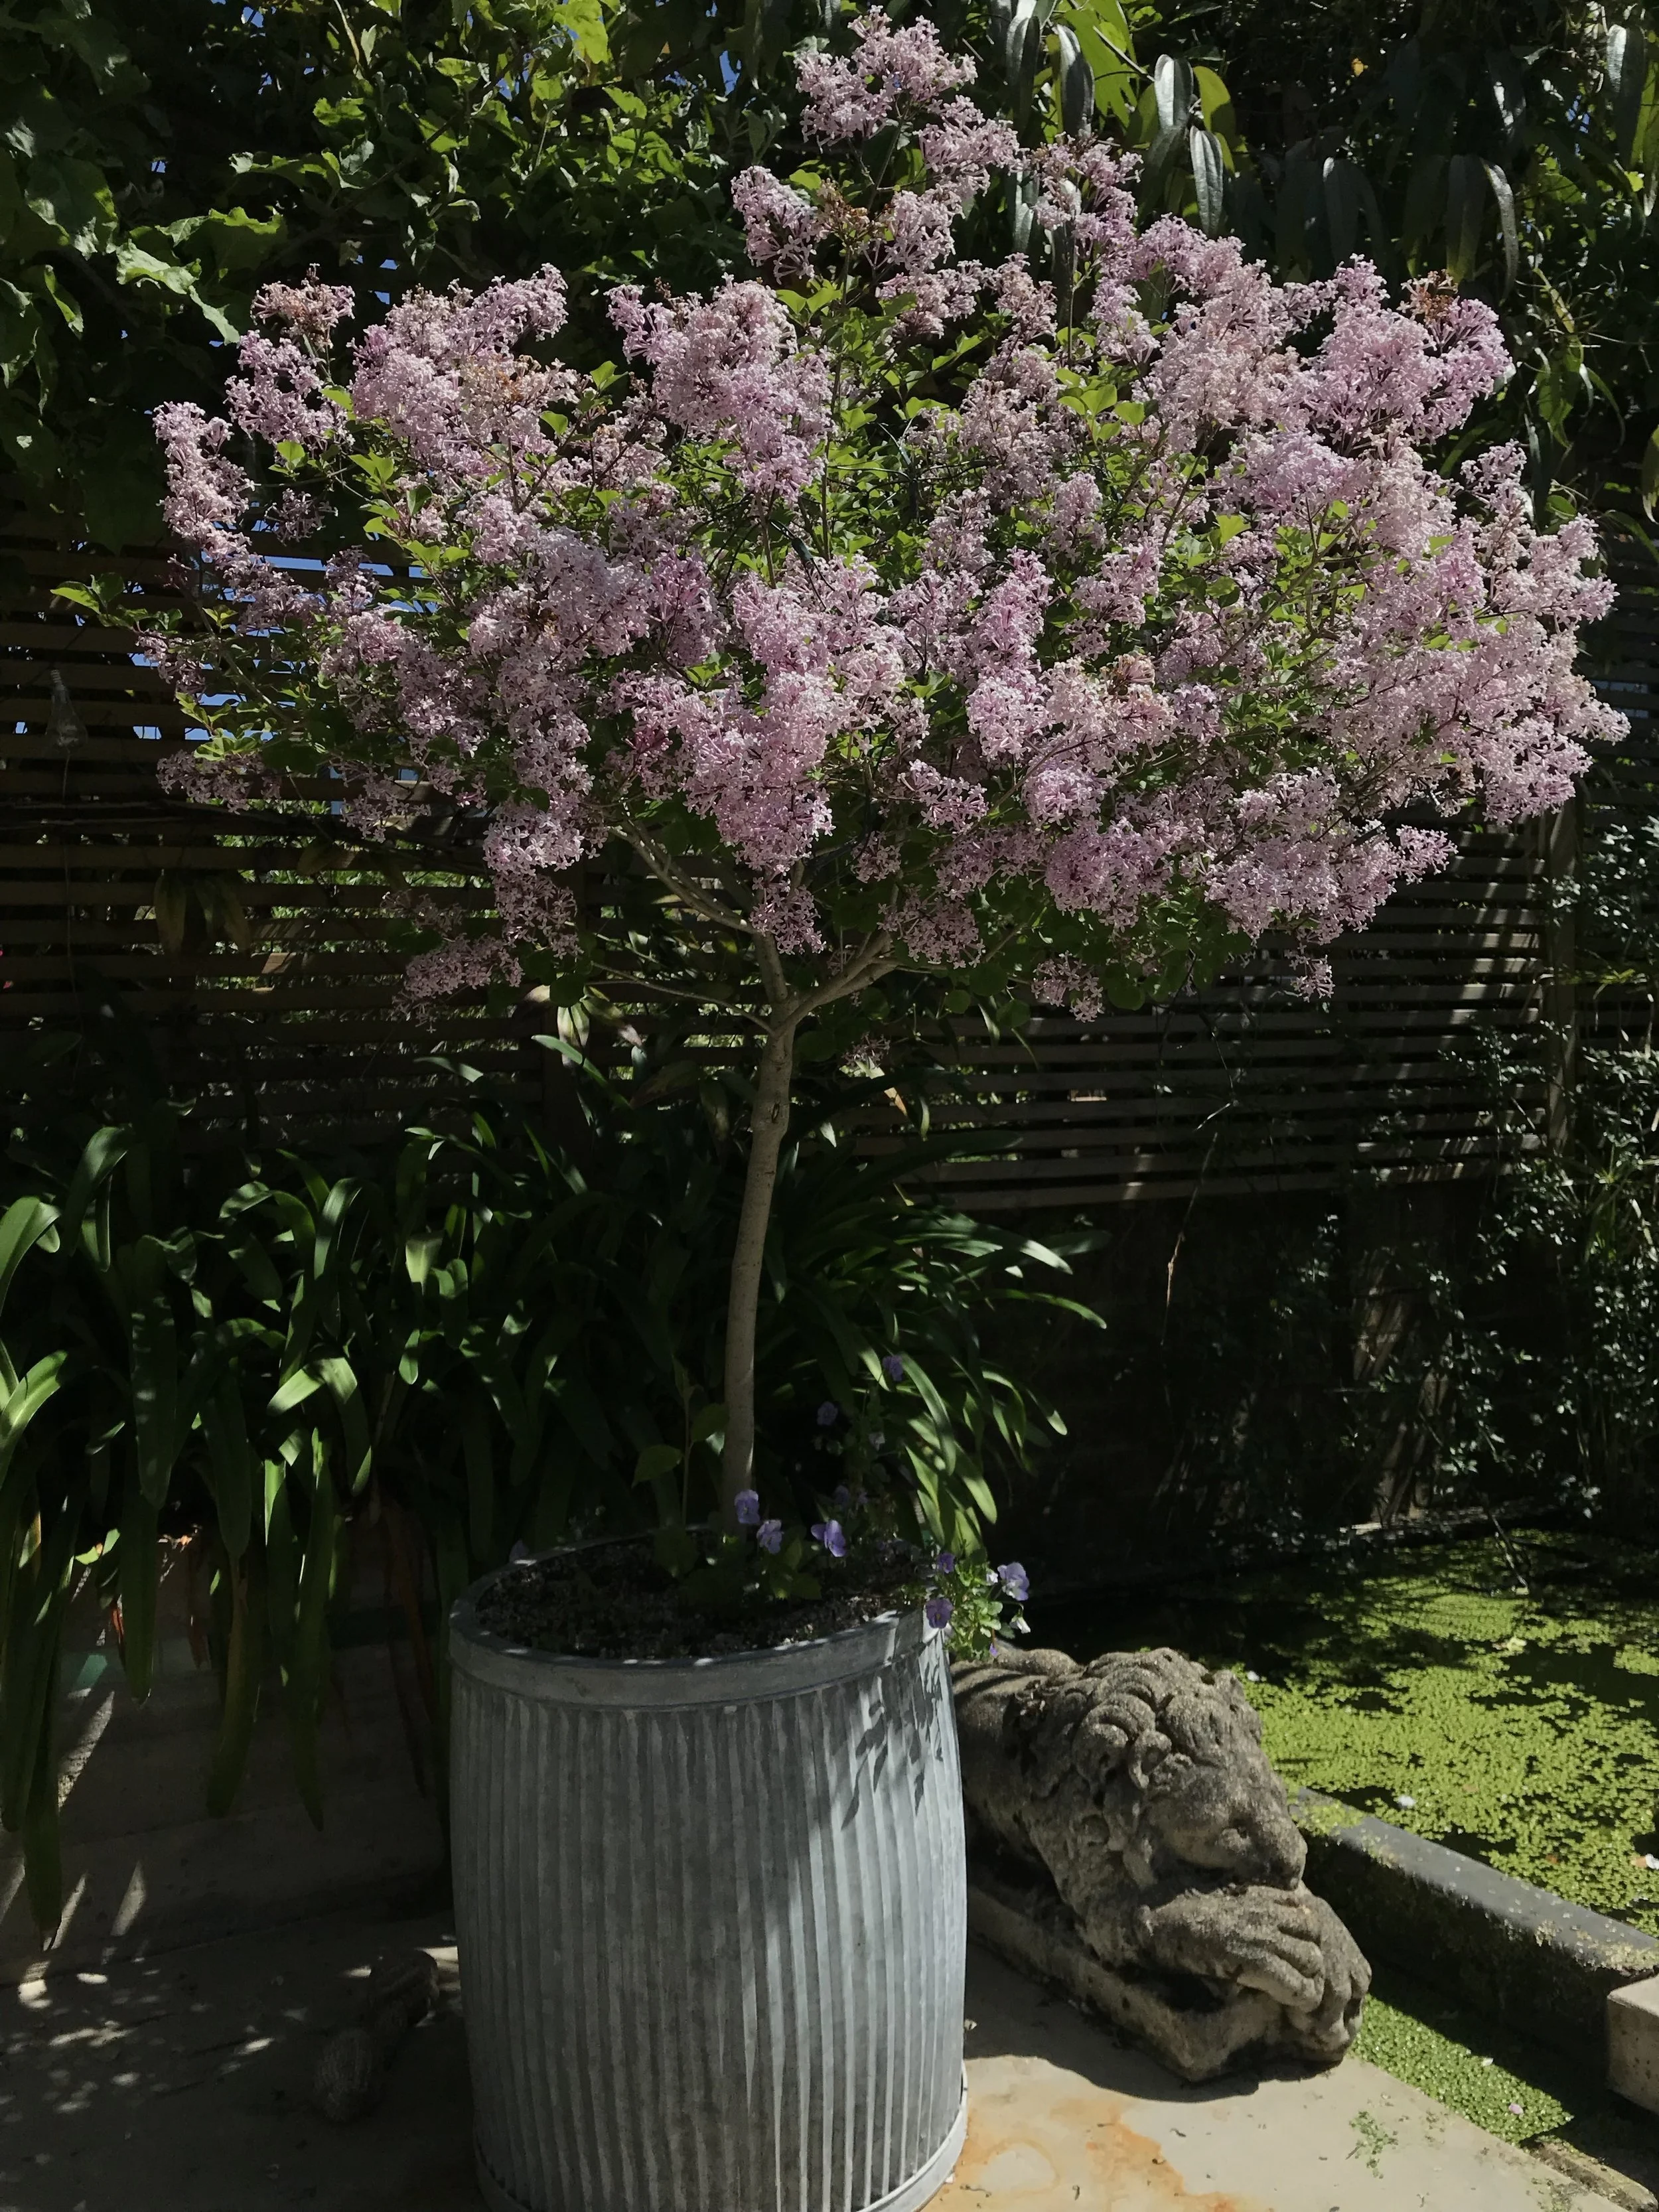
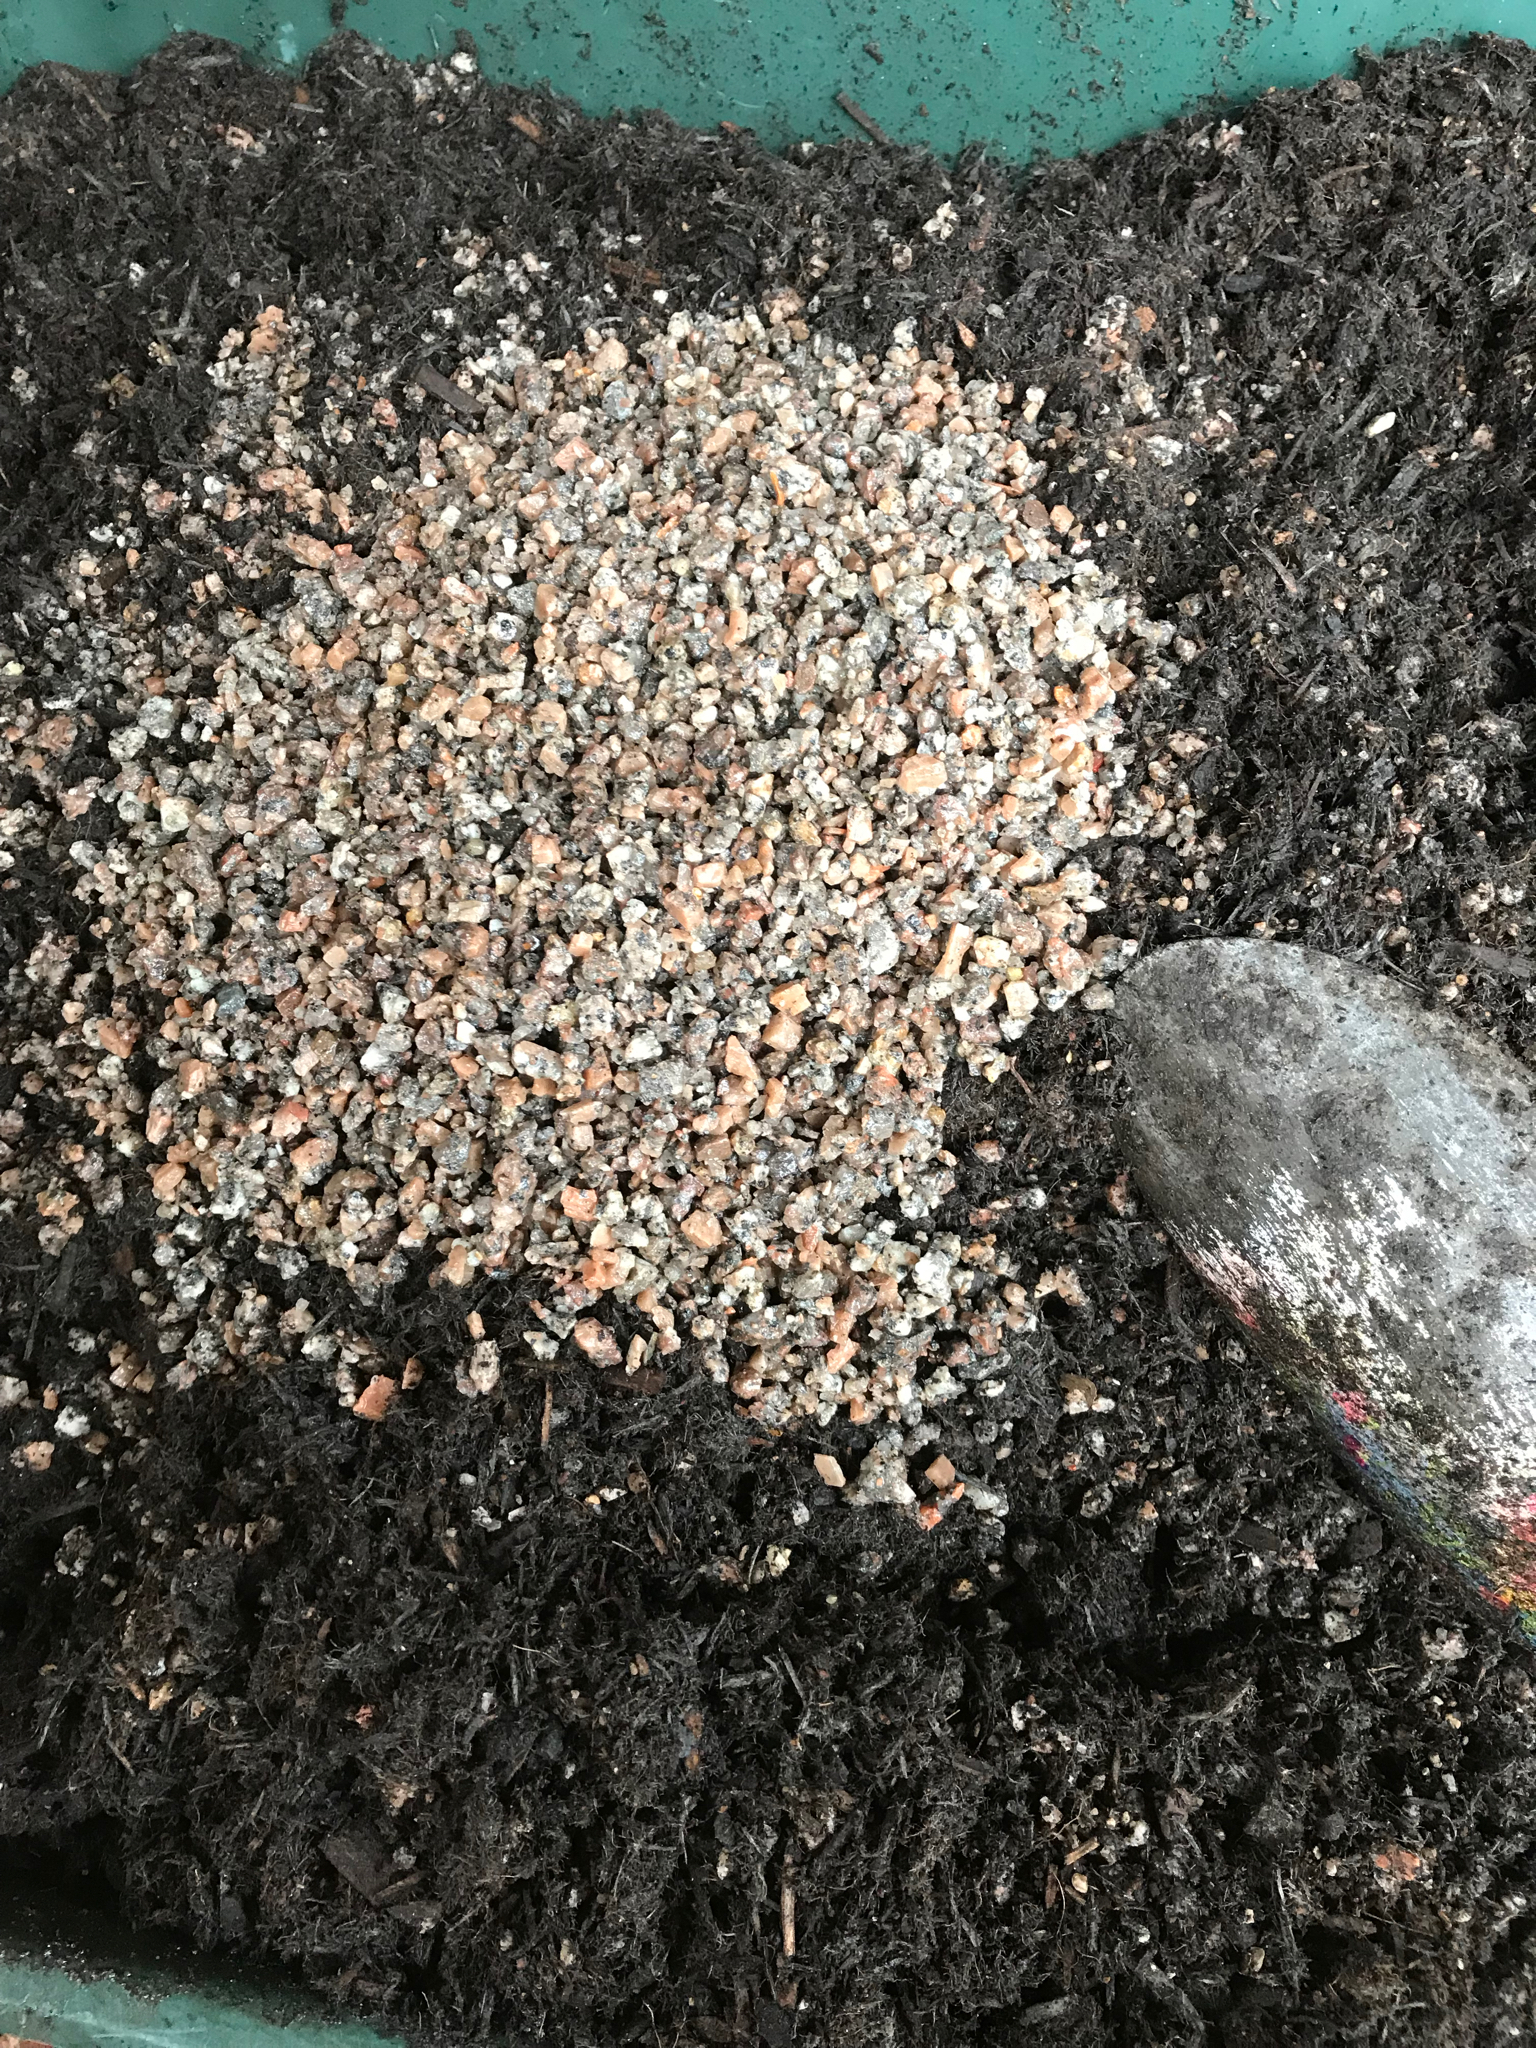
I suggest either sweet peas or runner beans. If you’ve no space in a flowerbed then do it in a large pot. Start the seeds off indoors so you can keep a close eye on them, and they germinate quicker. Get yourself a bag of peat-free, multi purpose compost and fill a few deep pots with it. If you don’t have pots lying around, please don’t go buying new ones…, use old loo rolls, or make paper pots out of old newspaper - they’re really easy - I’ve put a highlight on my instagram stories called ‘Newspaper pots’ to show how easy it is. All you need is an old jar and some newspaper. Push one seed into each pot, about up to your first knuckle, cover them over, water well and try and create a humid atmosphere around them - if you have a seed tray, that means using the clear plastic lid that comes with it, or if not, then put them in a clear plastic storage container with the lid on, or you could even use a clear plastic bag. Leave them inside, by a window (your kitchen windowsill is good here) until they appear. As soon as they do, take whatever you’re using as a ‘lid’ off and let them grow on until they have a few leaves. Put them outside in the day and inside at night until you feel the forecast says there won’t be any more frost, and then plant them out in your pot, or the bit of earth you’ve cleared. Stick a few bamboo or hazel sticks in the ground to create a tipi of sorts, tying it up at the top with string, and gently tie your little seedlings to the base of the sticks, so they know where to climb. In a matter of weeks you’ll have a gorgeous green-covered pyramid. This will give you SO much joy as you go out to pick your sweet peas or harvest your runner beans. You don’t even have to LIKE runner beans, because the flowers are just so pretty, and you will have grown something substantial and amazing from SCRATCH.
2. Do some husbandry
Honestly lovely people, if you’re feeling overwhelmed the following things are the quickest, simplest and most enjoyable ways to get that ‘in control’ feeling back. Husbandry is just a term for tidying that gardeners use…I love the word, and I love the act of husbandry. It’s mindless and easy and never fails to do good.
a) Sweep. Sweep that shit up - all the old leaves and dirt. Sweep your steps and your terrace or patio, sweep your paths and your paving stones, take a small stiff brush and sweep all the crevices and crannies your broom can’t reach. Put your headphones on and sweep it all up.
b) Mow. I put this under ‘husbandry’ because, again, it’s really nothing more than mindless ‘tidying’. If you have a lawn, then mowing it is the single most effective thing you can do to make things look good. A mown lawn will let you get away with murder in the flower beds. So mow darlings. And edge too. Get a pair of kitchen scissors and snip all the grass that the mower can’t reach, so that the edges of your lawn are crisp. It will make a vast difference, SWEAR.
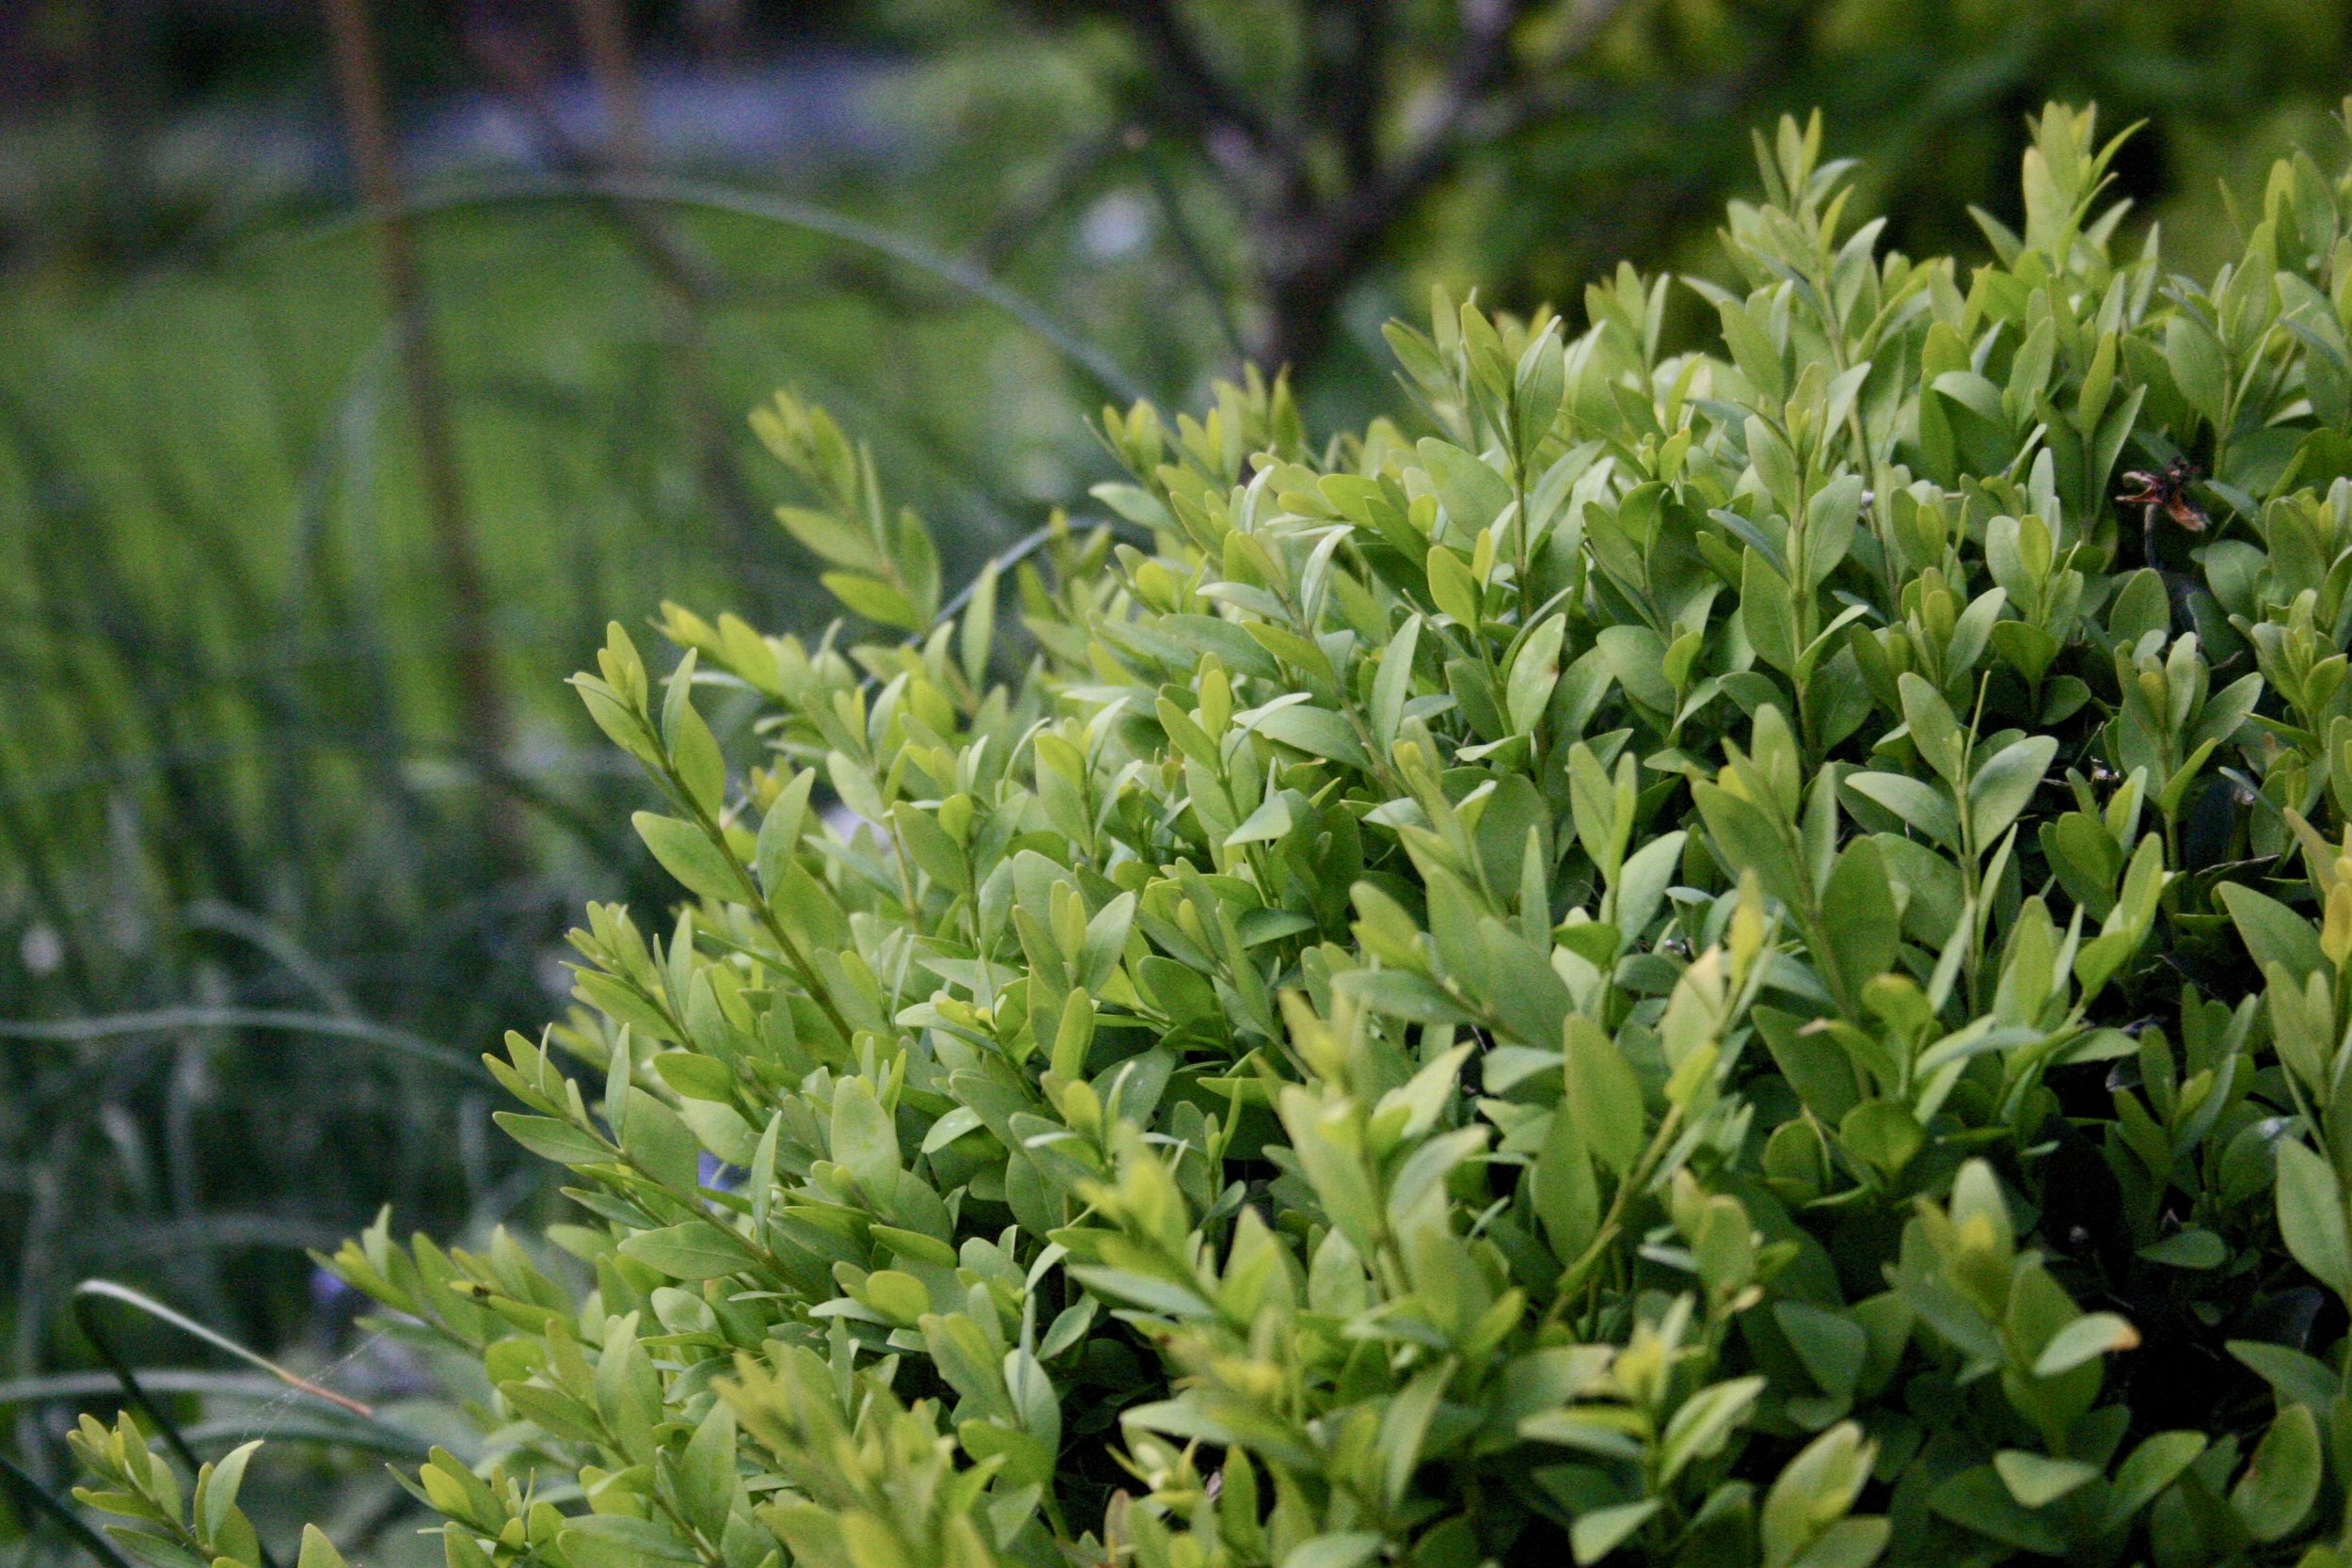
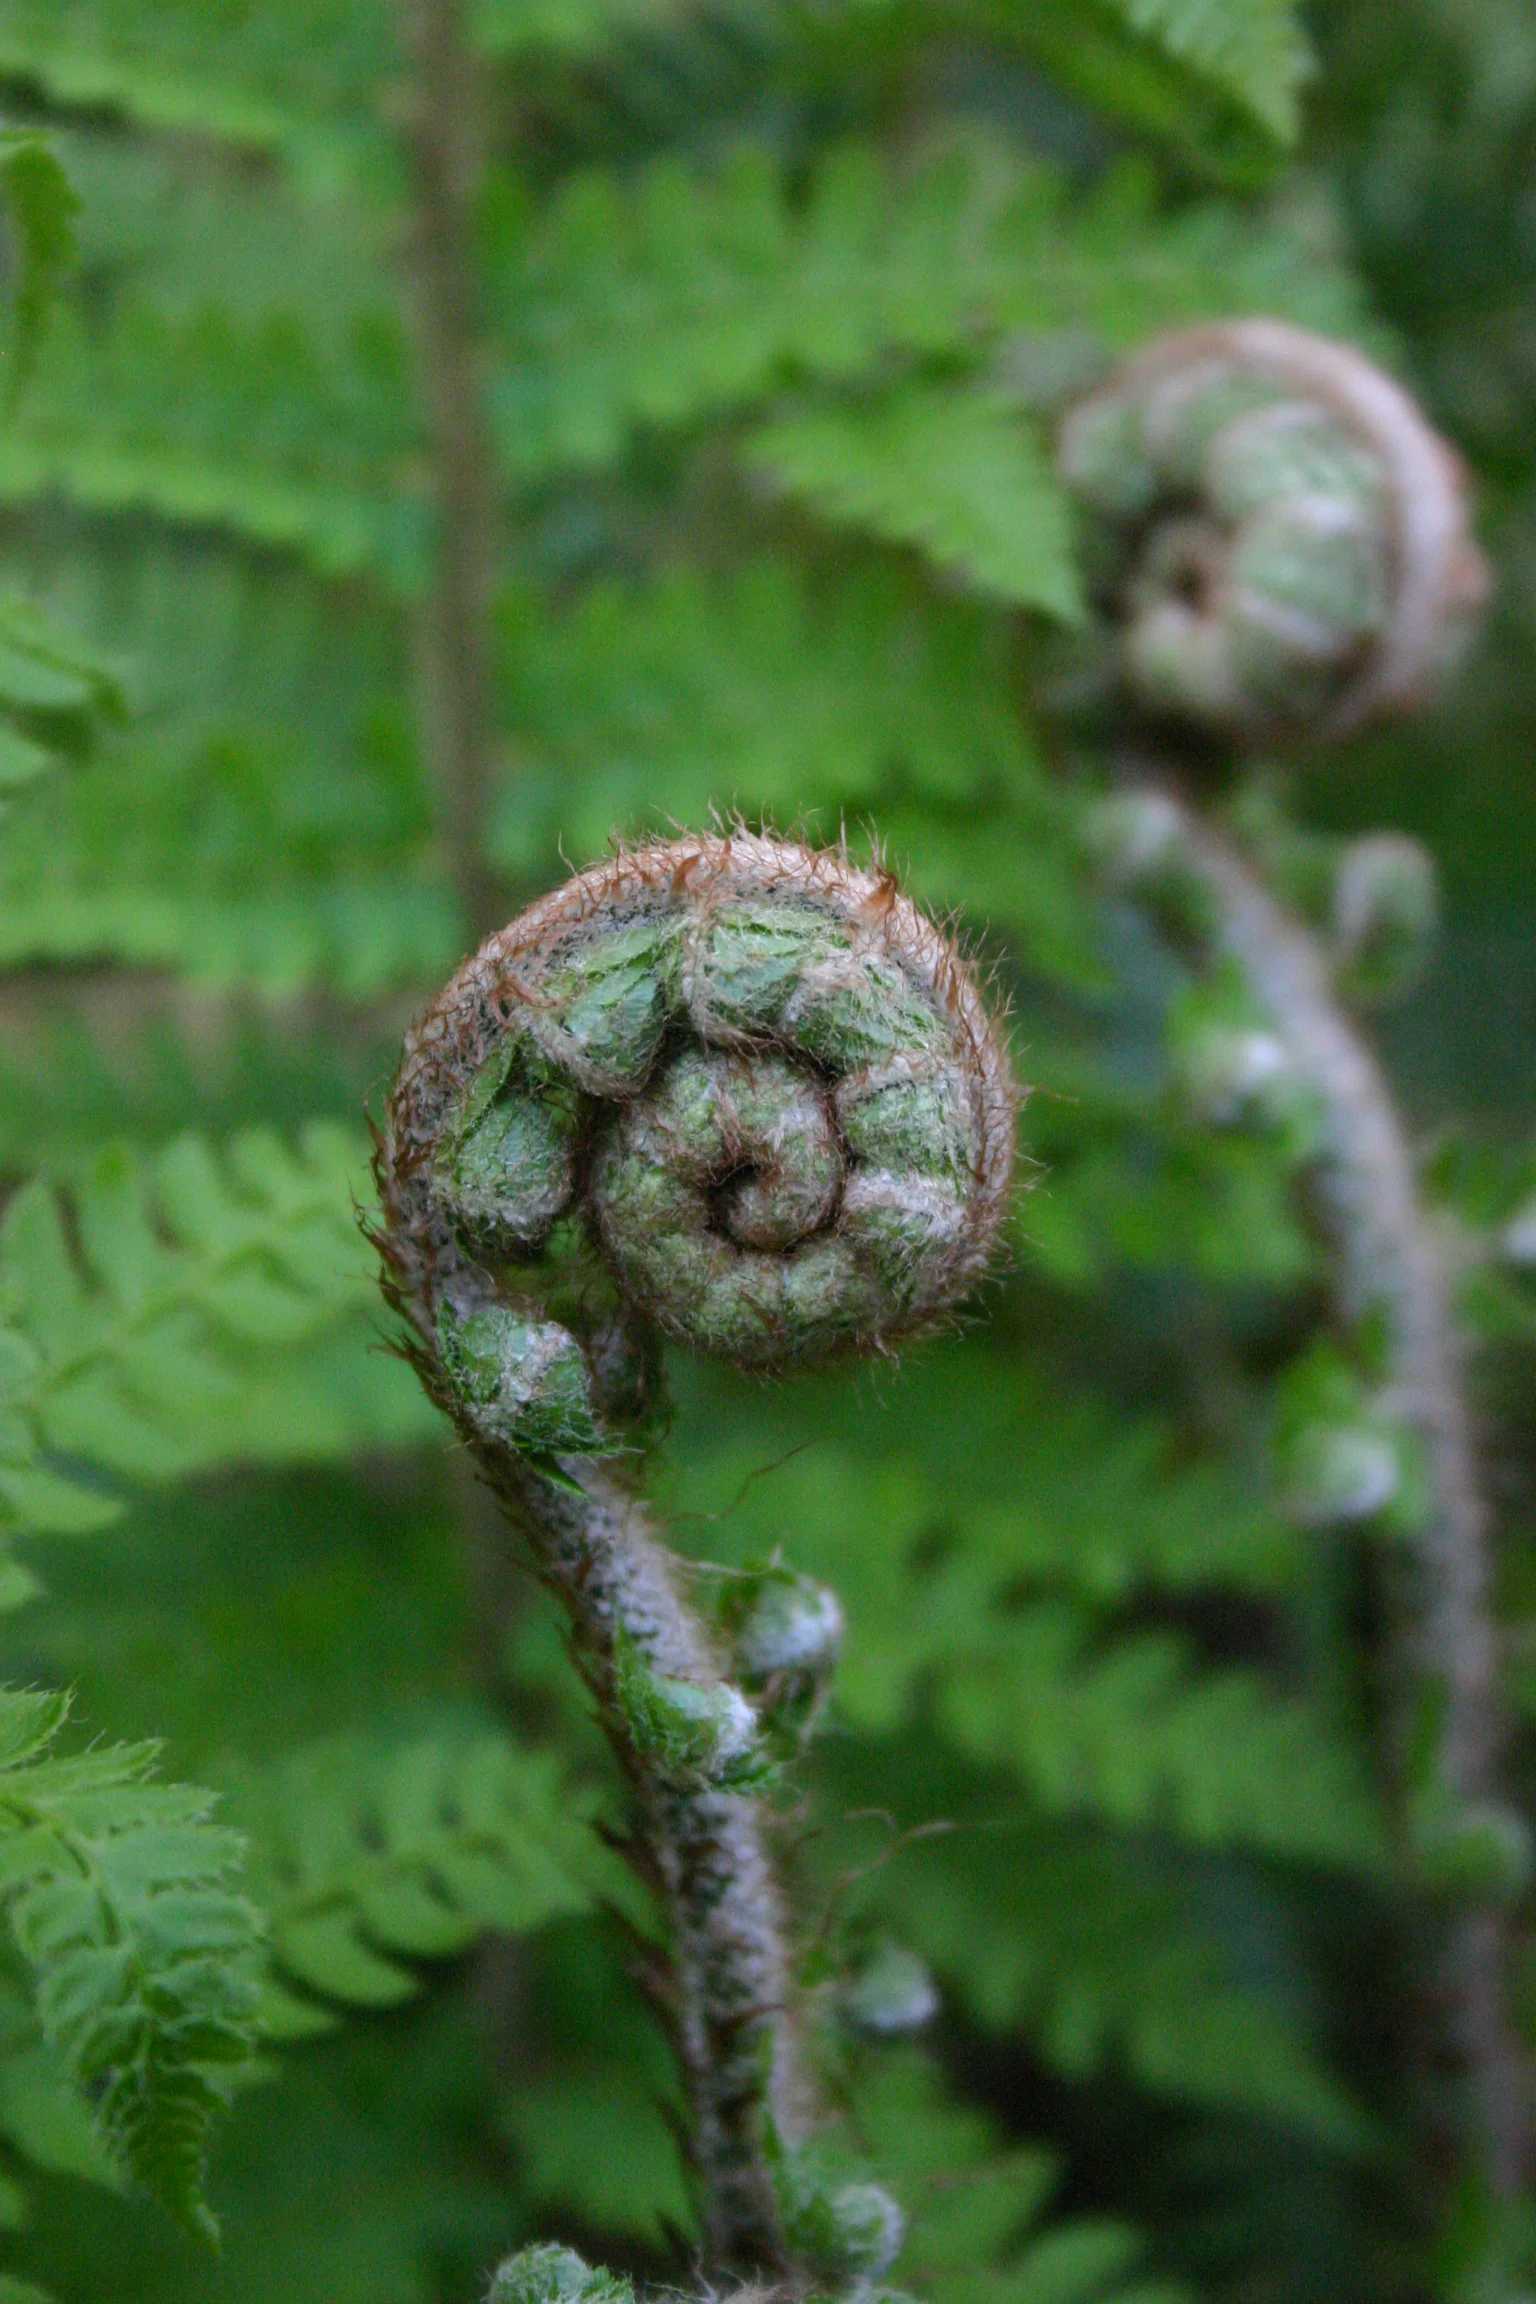
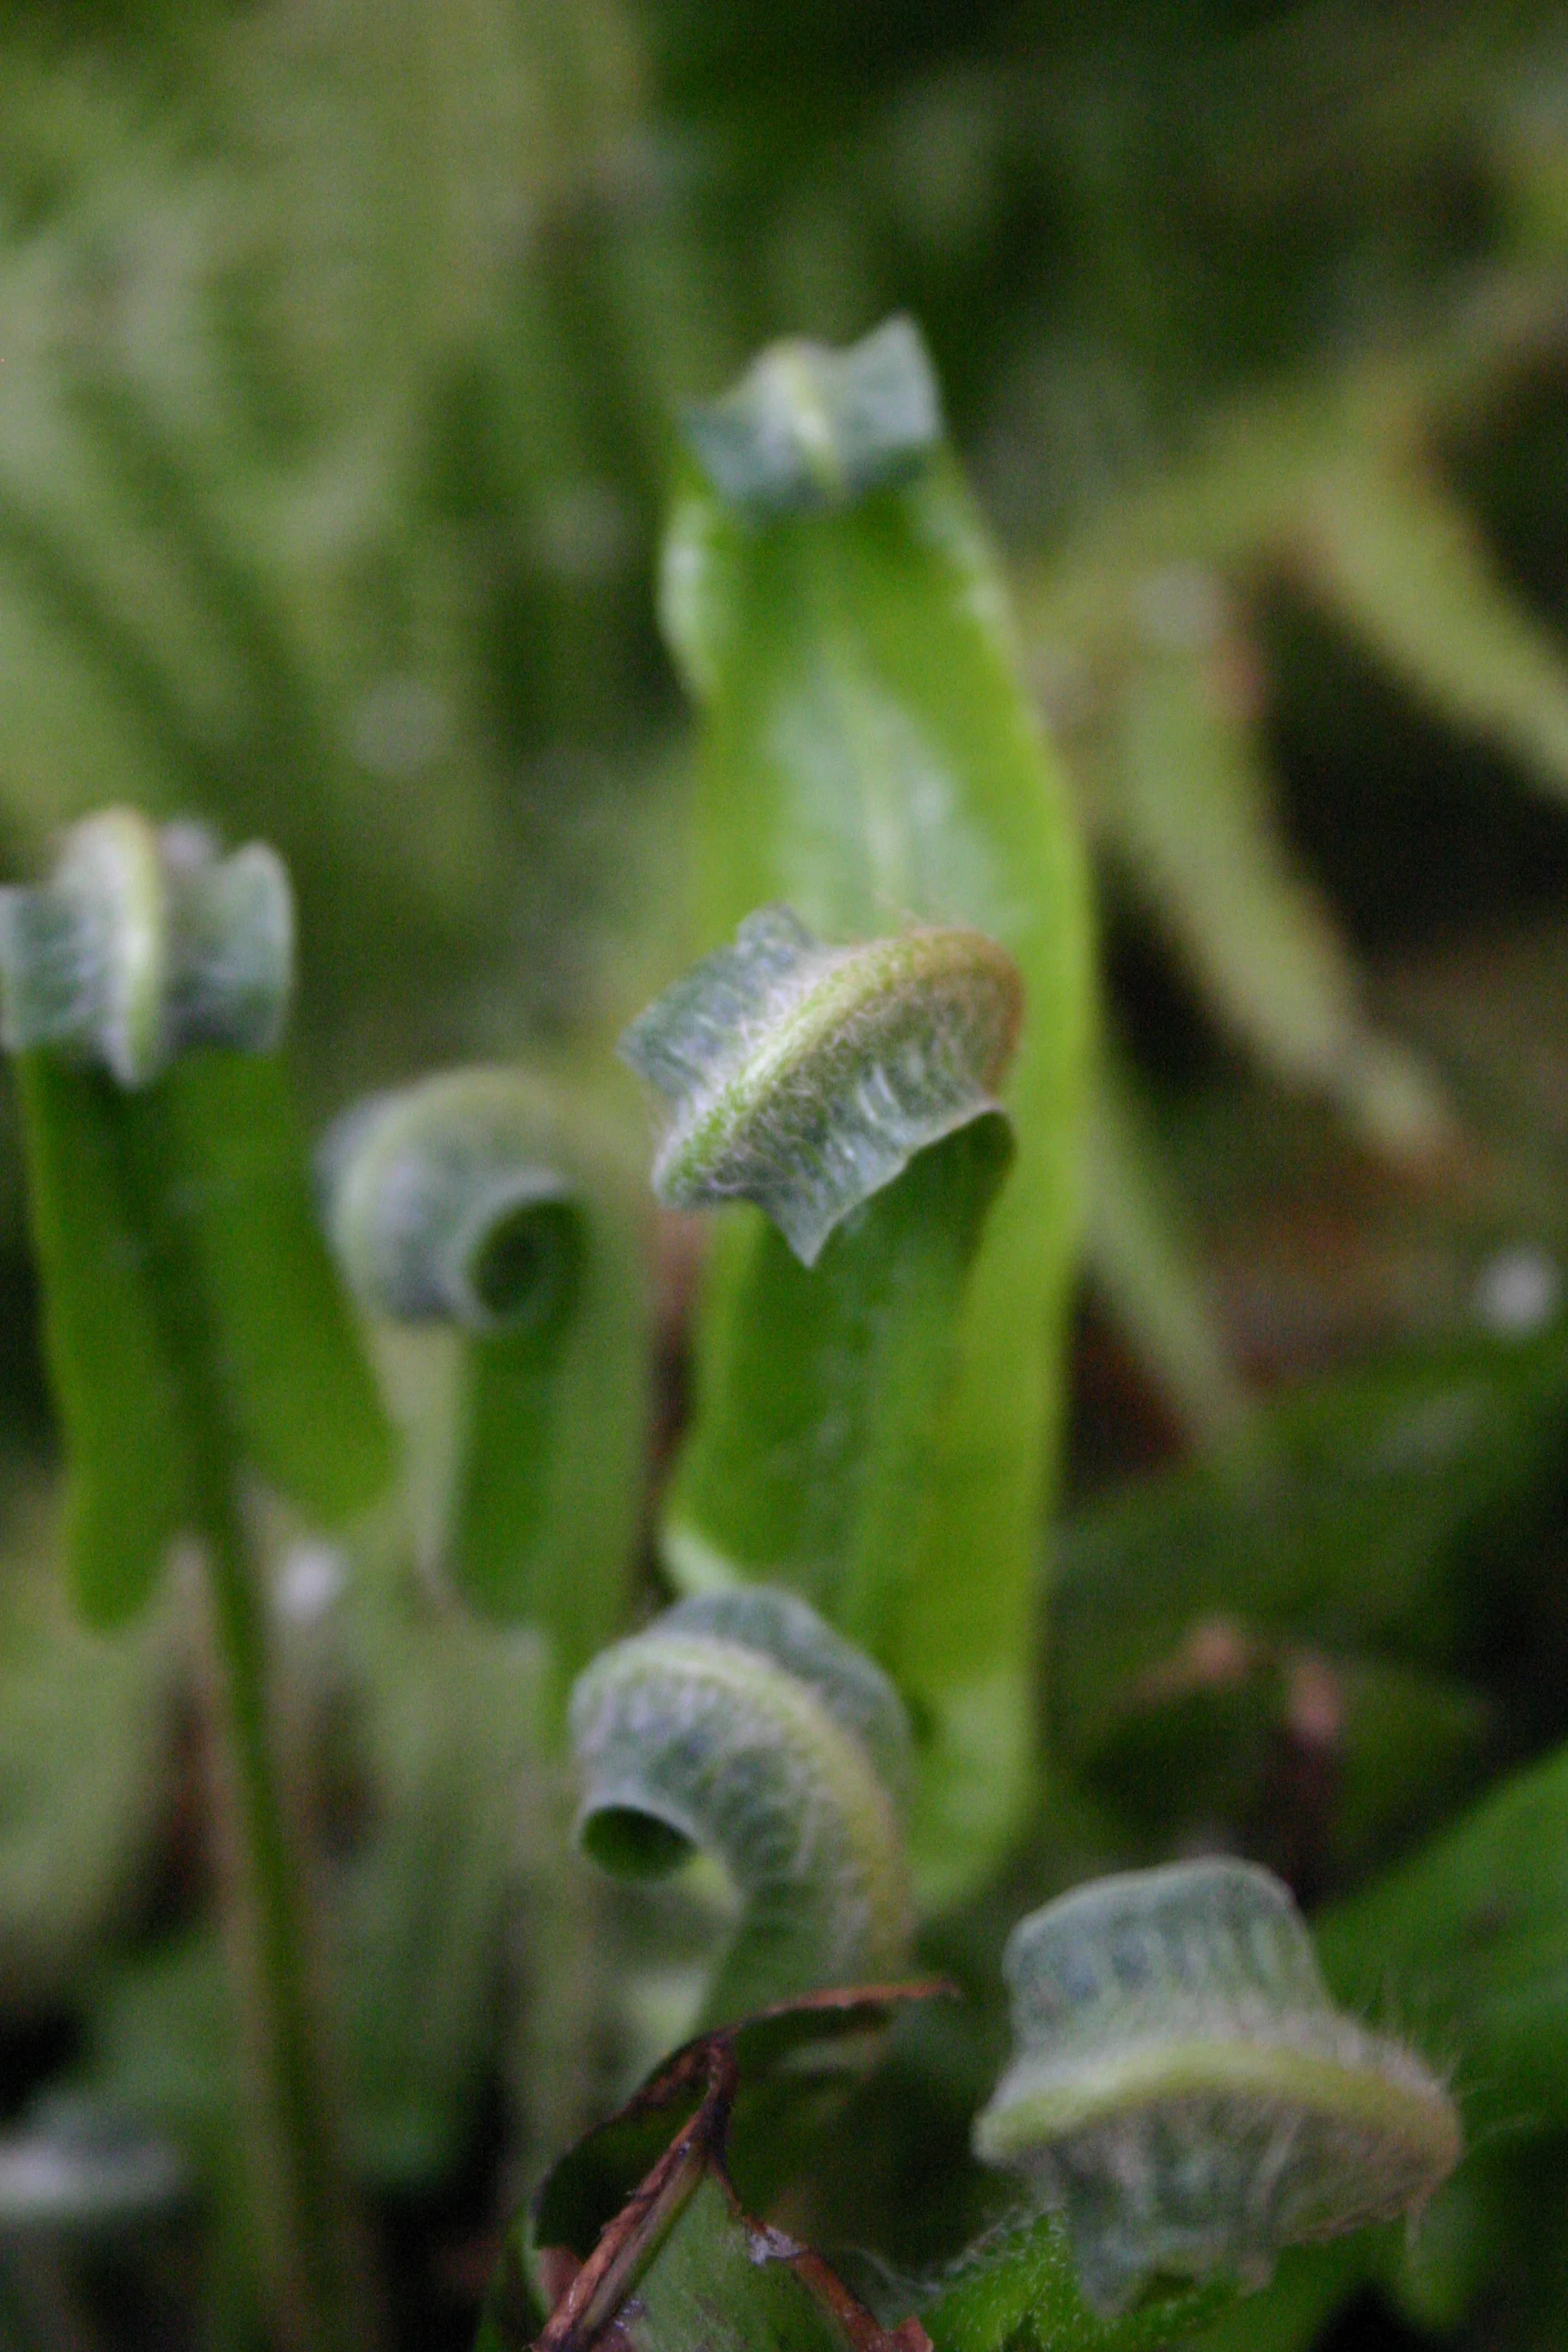
c) Chop. It doesn’t matter if you don’t know which plant is which. The rule here is simple. Chop down anything that’s brown and crispy (or dead, in other words). It’s old flowers and stems from last year and it needs to go now, so that the new stuff can emerge, un-impeded. While you’re chopping you might want to look at the base of some of your plants, and you might see the new stuff coming up. Exciting no?. There…you’re gardening!
d) Weed. Do you know what a stinging nettle looks like? or a dandelion? If those are the only weeds you can identify then start with them…yank them out (unless you want them for the wildlife in your garden,….and yes, if you can leave a small wild area then the birds and insects and frogs etc will thank you for it). If you’ve got an idea of which plants go where in your garden, then you’ll know which ones are weeds. Pull them out, or gently dig around their roots to remove them. Once you’ve cleared one patch, move on to the next. Do not look up. Do not get downhearted by how much there is to achieve, just keep your head down and enjoy what you’re doing right now. Do five minutes at a time and you’ll have the whole garden finished in a matter of days.
3. Reset the garden every day
Okay this is going to sound a bit bonkers, but it’s one of the most important things I do every day in the spring, summer and autumn for my garden and MYSELF. I first came across the idea of the #reset from following a woman called Lauren on Instagram (whose recipes for homemade cleaning products I also follow). She has this thing about ‘resetting’ her space every day, so that it feels good the next time she walks into it. I haven’t managed to implement this type of thing into my inside space, but I DO use it for outside:
So: Put your cushions and throws and parasols and other comfy stuff out first thing, every morning, whether or not you are planning to sit in the garden. This is SO important; if there’s nowhere comfortable to sit in your garden, you won’t sit in it…simples. Unless torrential rain is forecast, I put the cushions out, and you know what…I find myself actually sitting down to enjoy the garden in those small snippets of time I get, randomly. If the cushions weren’t there, I wouldn’t be able to do that. The garden is there to be enjoyed, and having a comfortable place to sit is crucial if it is to fulfil its destiny!
Hope that provides some ideas for this weekend and beyond
x Laetitia
I write a weekly newsletter. It’s much more personal than my blog and covers my daily five minute forays. People say it gives them ideas about what they can do right now in their garden. We do lots of emailing back and forth and it’s my favourite way to connect with people who read my stuff. Sign up if you want to try it and don’t worry - you can always unsubscribe if it’s not for you!